Label Organizer for Jira Cloud Documentation
Label organizer for Jira improves your experience using labels in Jira. It provides a simple control panel which allows you understand where your labels are being used, as well as powerful functionality to cleanup and organize labels in bulk.
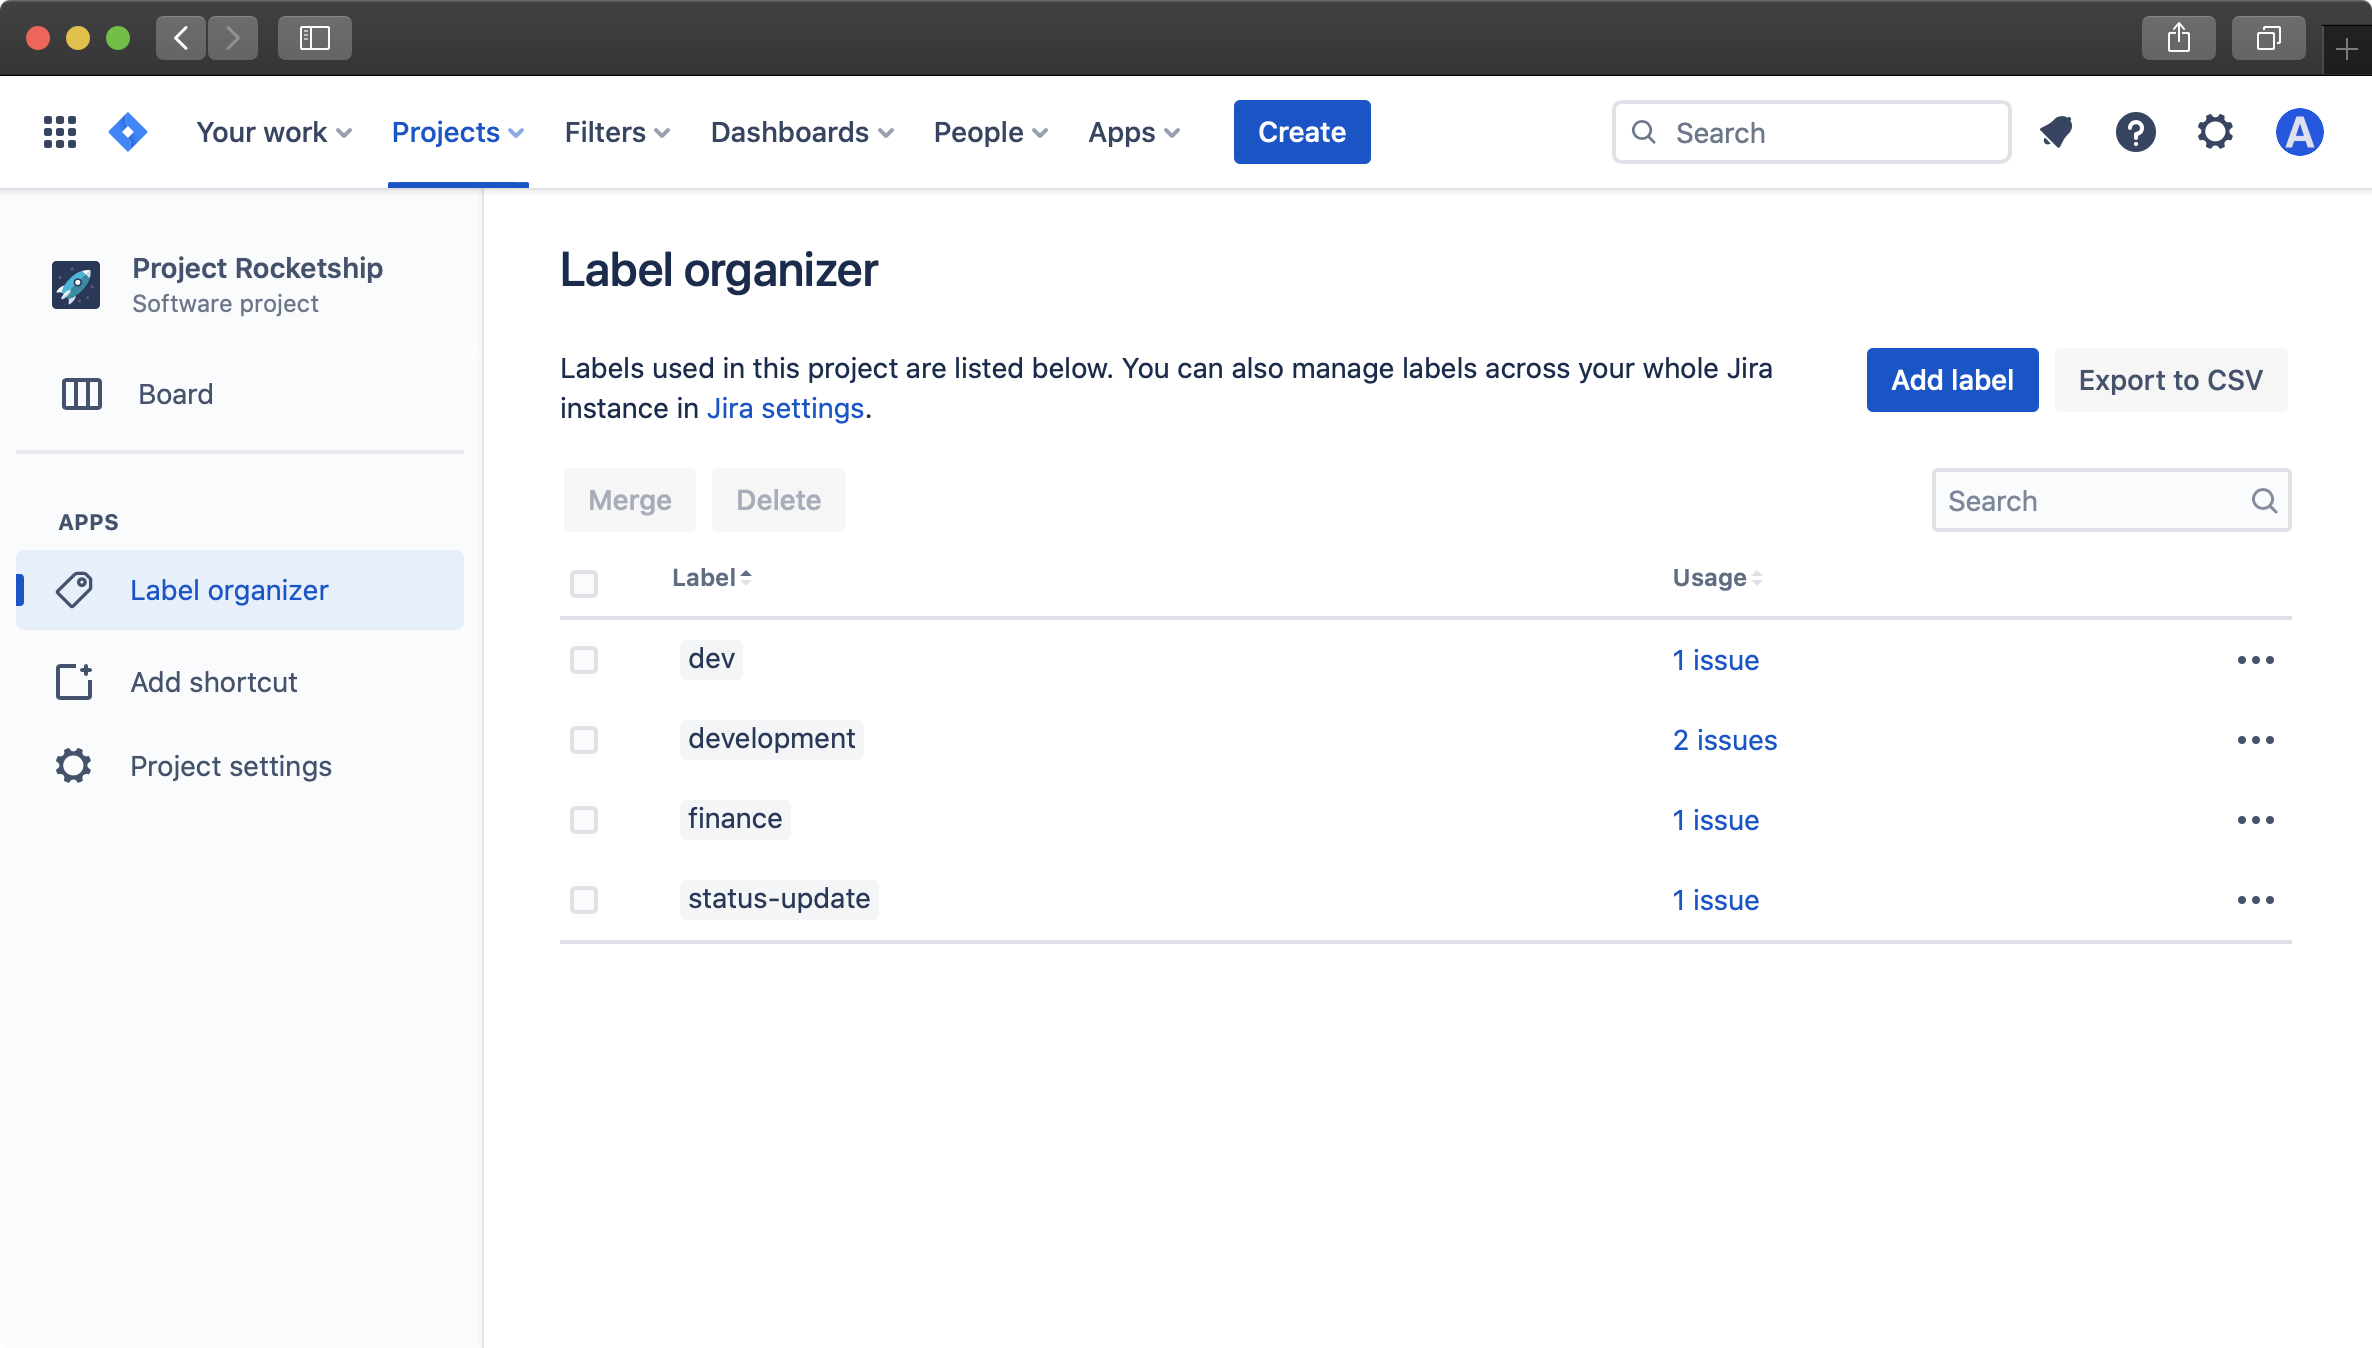
To get started organizing your labels, open a project and click on the "Label organizer" section of the project sidebar.

Here you're able to a see a list of all the labels that are used in that Jira project, as well as the number of work items that the label is assigned to. In order to see a list of these work items, click on the link (for example, "1 work item"). This page will then open a browser tab. To return to Label organizer, simply close this new tab.
In addition to viewing all labels used in a single Jira project, you can also view and organize all labels that are used throughout your Jira instance by going to Label organizer in Global settings:
- Click on the gear icon in the top-right section of Jira
- Select "Apps"
- Open "Label organizer" in the sidebar on the left
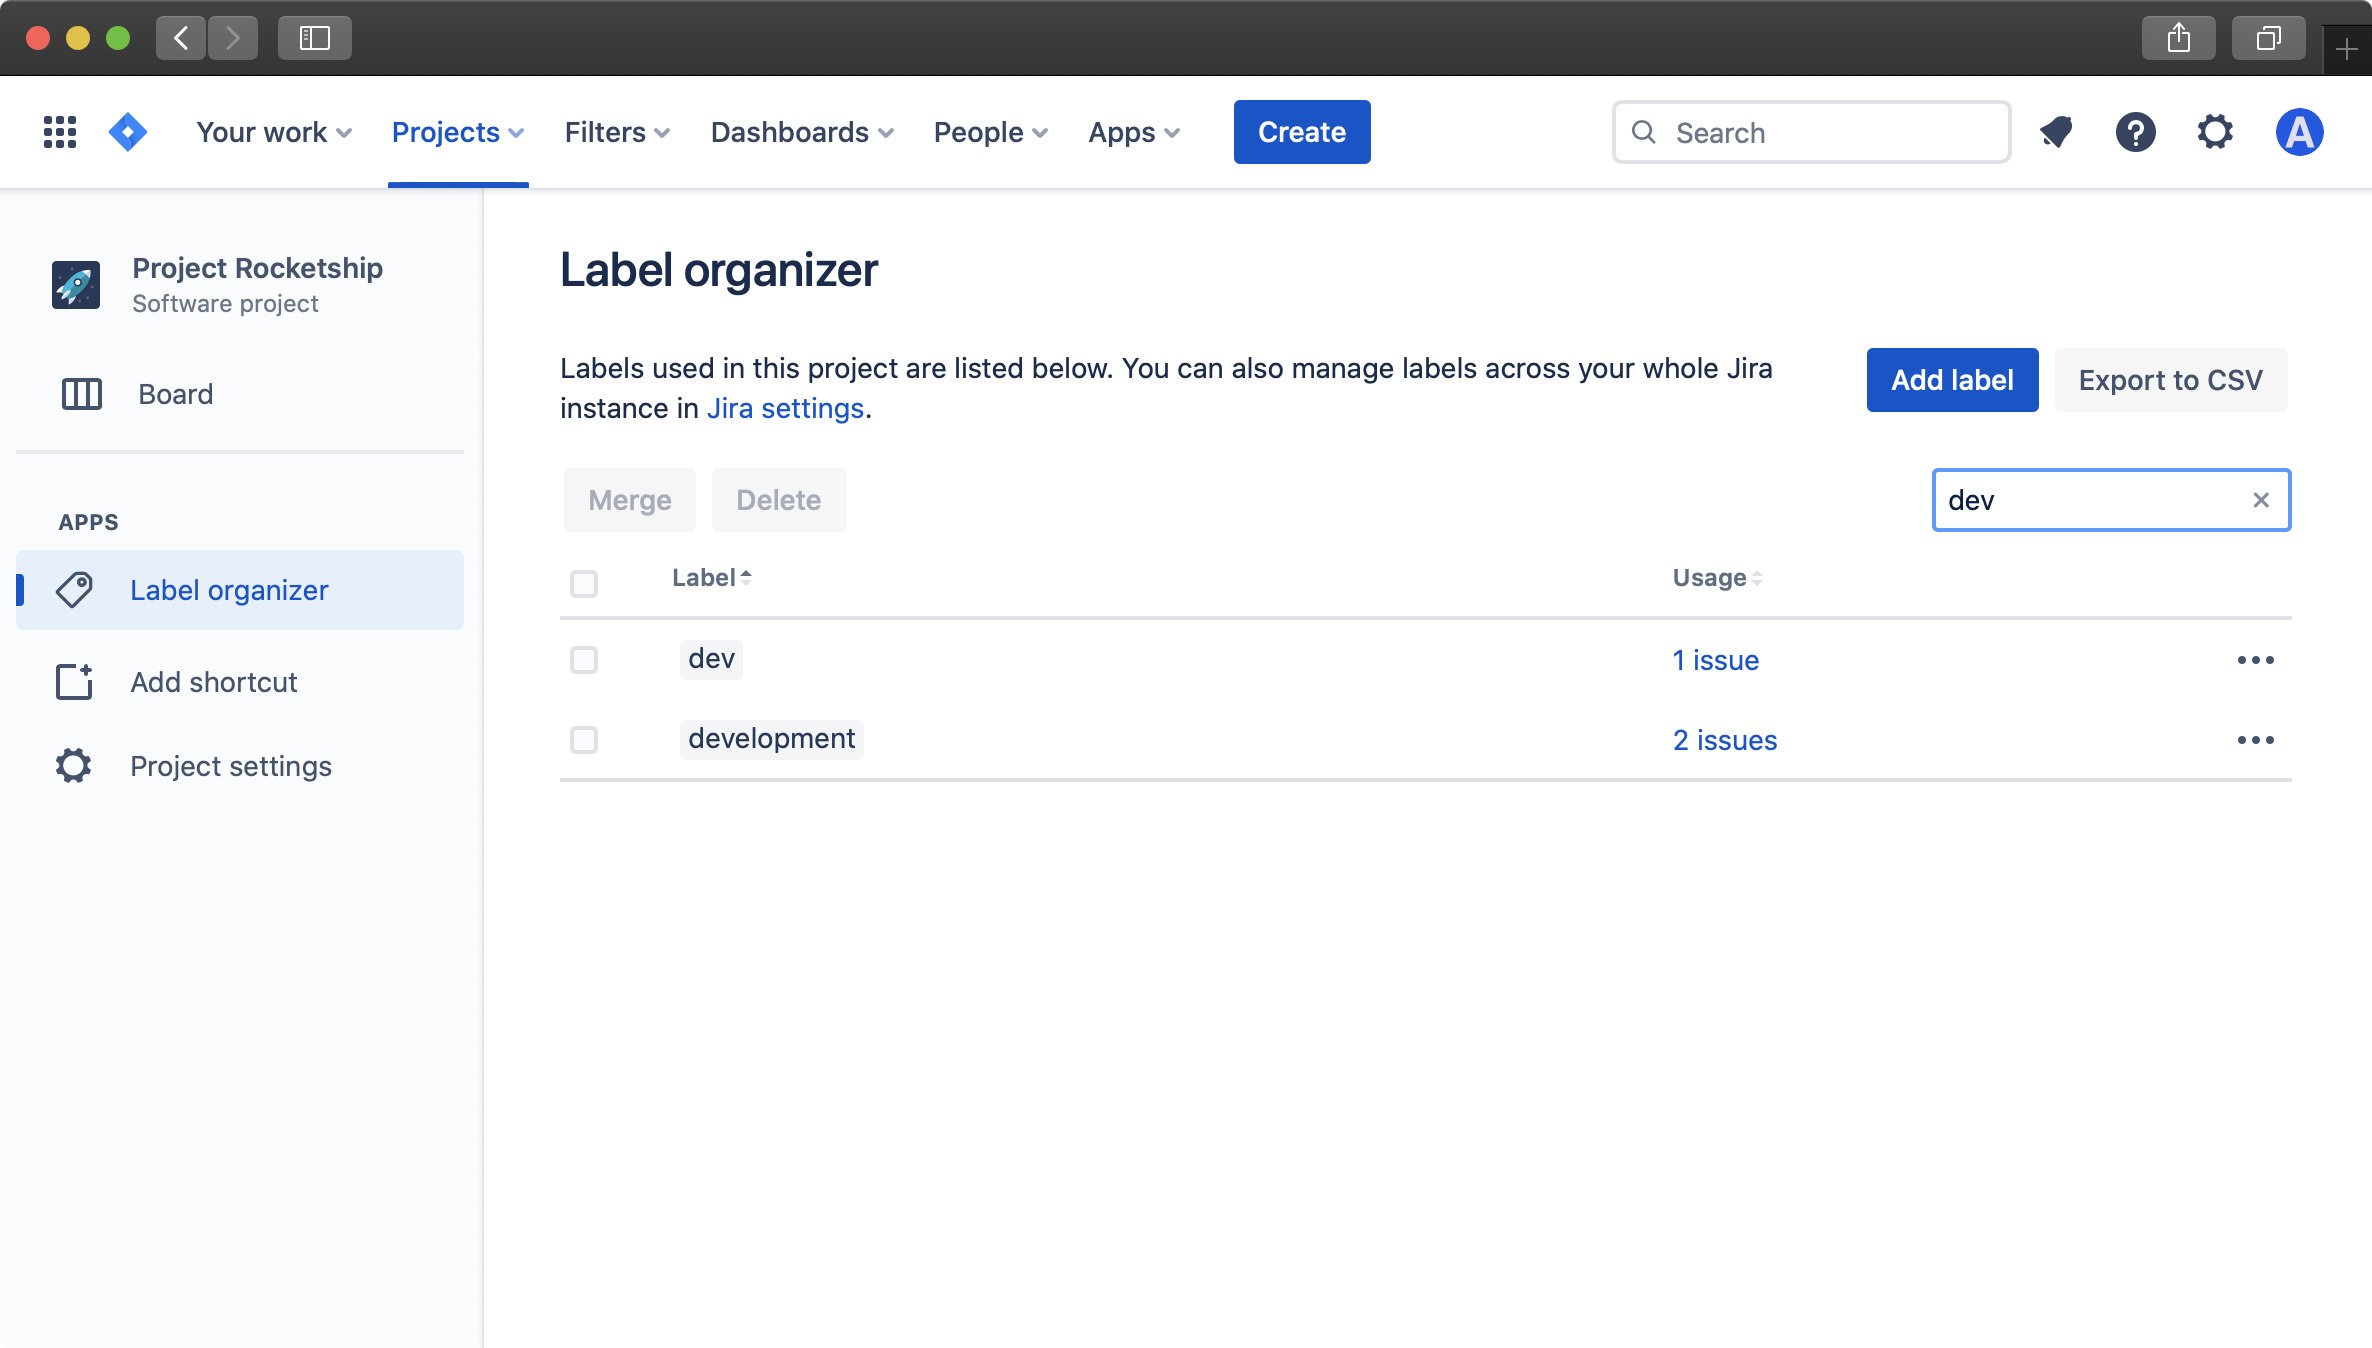
In order to filter the list of labels shown in the table, click on the search box and enter a search term. This will filter the items in the table to only show labels that contain the search term.

When using Label organizer in a specific Jira project, editing labels (deleting, renaming and merging labels) will only apply to work items in the project that you're viewing. To edit labels globally, use Label organizer in the settings section of Jira.
To delete or rename an individual label, click on the three dots at the end of the table row and select either "Delete" or "Rename".

When deleting a label, you'll then be prompted to confirm the label that you're deleting.
localStorage).When renaming a label, you'll be prompted for the new label name that you'd like to rename the label to.

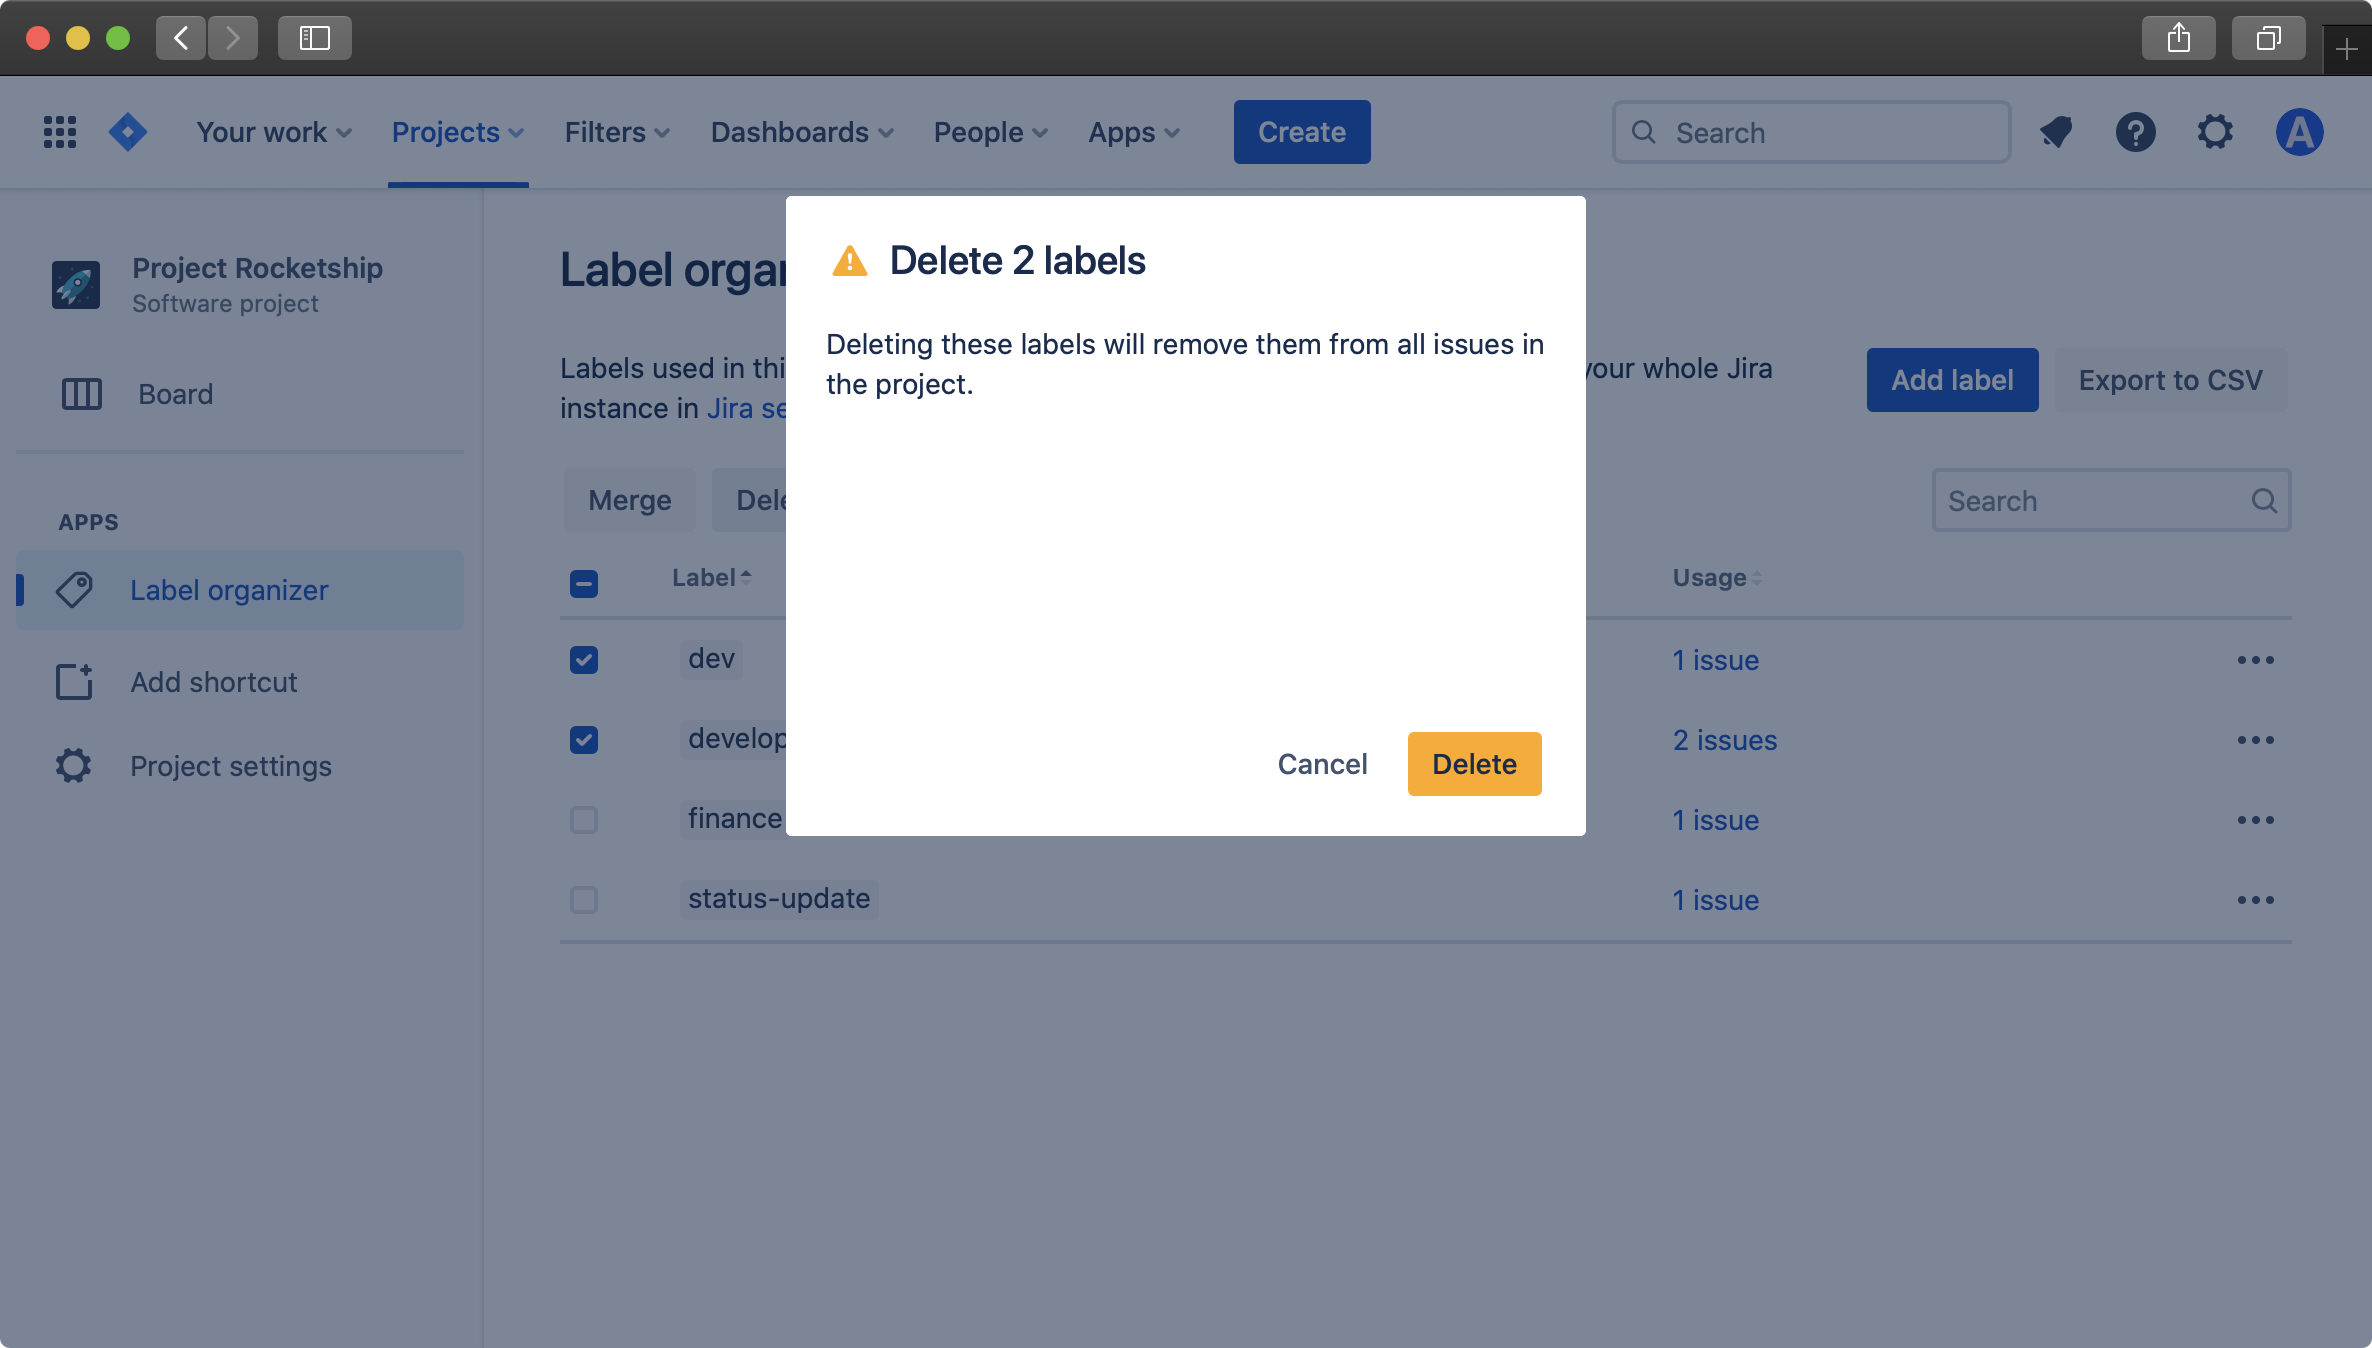
Deleting or merging labels multiple labels together can be done by clicking the checkbox on the left side of several labels and selecting either "Delete" or "Rename".
When deleting several labels, you'll then be prompted to confirm the labels that you're deleting. When merging several labels together, you'll be prompted to select that label that all selected labels should be merged into.


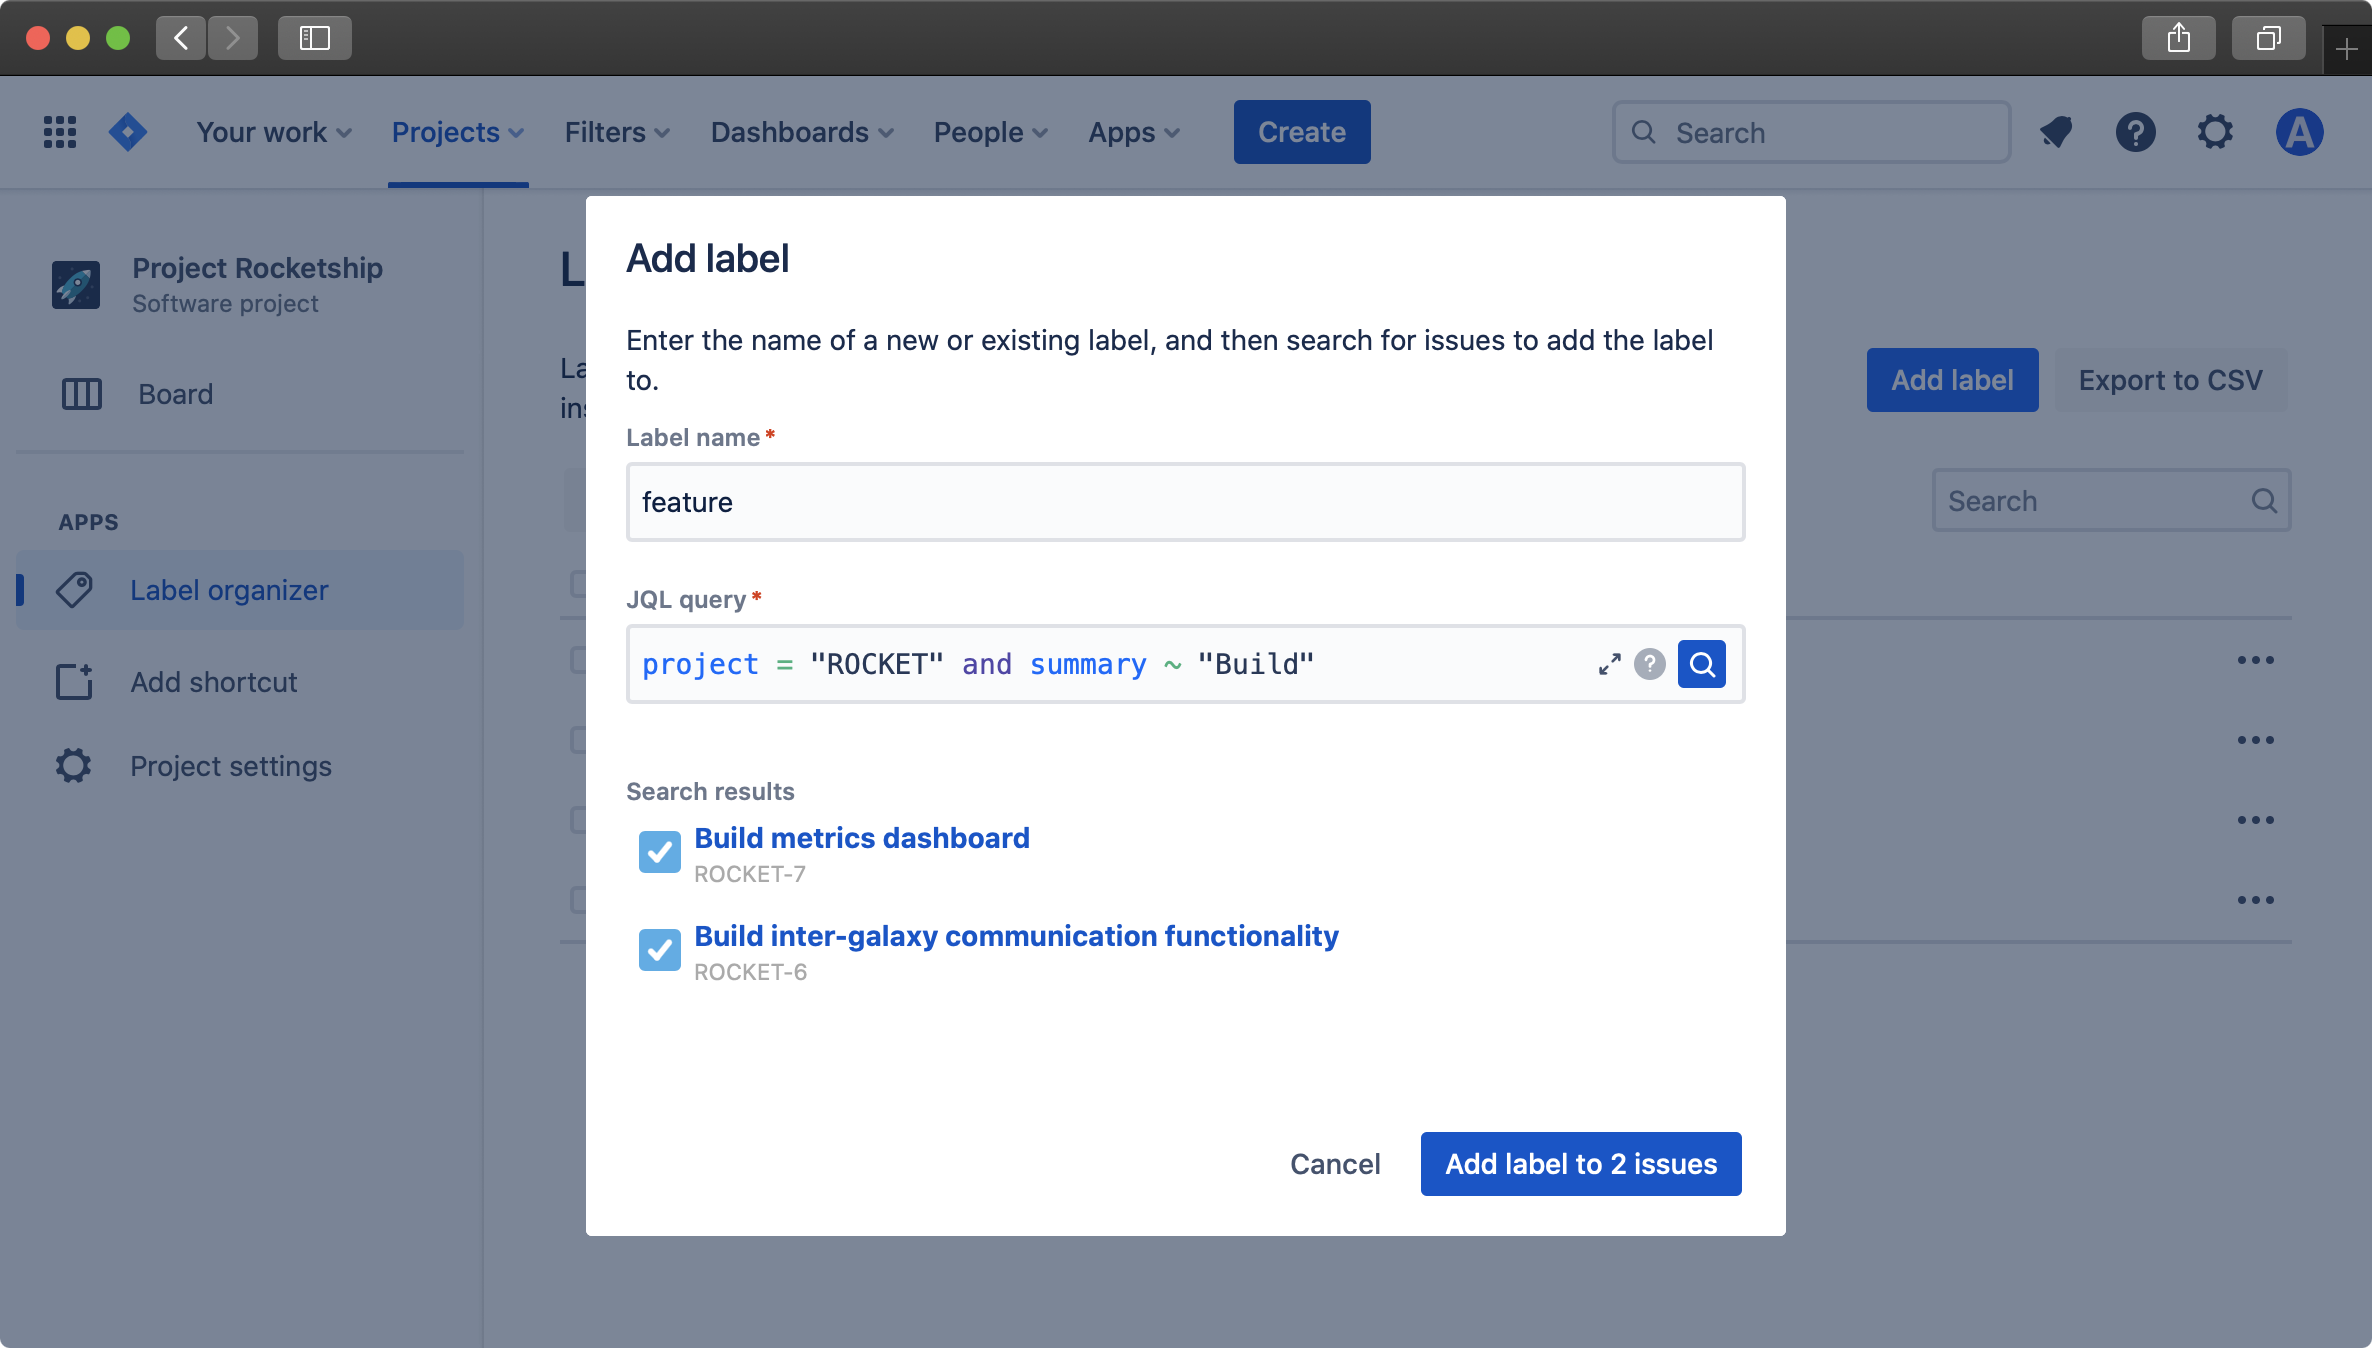
To add a label to work items, either click the "Add label" button from the main screen, or click on the three dots at the end of the table row
Then enter a label name (if adding a new label) and enter a JQL search query. If you need help with the JQL search syntax, click on the question mark icon in the search field.
Once your search query is ready, click on the search button and a list of results will be returned.
If you're them happy with the list of results that the label will be added to, click on the "Add label to items" button.


